To add, delete, or modify information, you need to enter the edit mode. While in the view mode, click on the "Edit Mode" button to switch to it.

A new tab will open, providing access to the editing interface. To return to the lots and view mode, simply switch back to the previous tab.
The editing mode appears as follows:

Certain fields will be locked based on the status of the lot. For example, in the "Owned" status, it will not be possible to edit the lot number, section, type, width, and height.

To modify locked fields, you can change the lot status to one that allows editing, such as the "planned" status. By updating the status, you gain access to previously locked fields and can make the necessary changes. Simply select the desired status from the available options and save the changes. Once the status is updated, you can edit the previously locked fields. Remember to review and update other relevant information as needed before finalizing the changes.

In the "Summary" subsection, you have the option to manually enter certain data, such as transaction details.
This allows you to input specific information related to the transaction, such as payment amounts, dates, or any additional notes. Simply navigate to the "Summary" section and fill in the required fields with the relevant transaction data. Once you've entered the necessary information, save the changes to update the transaction details accordingly.

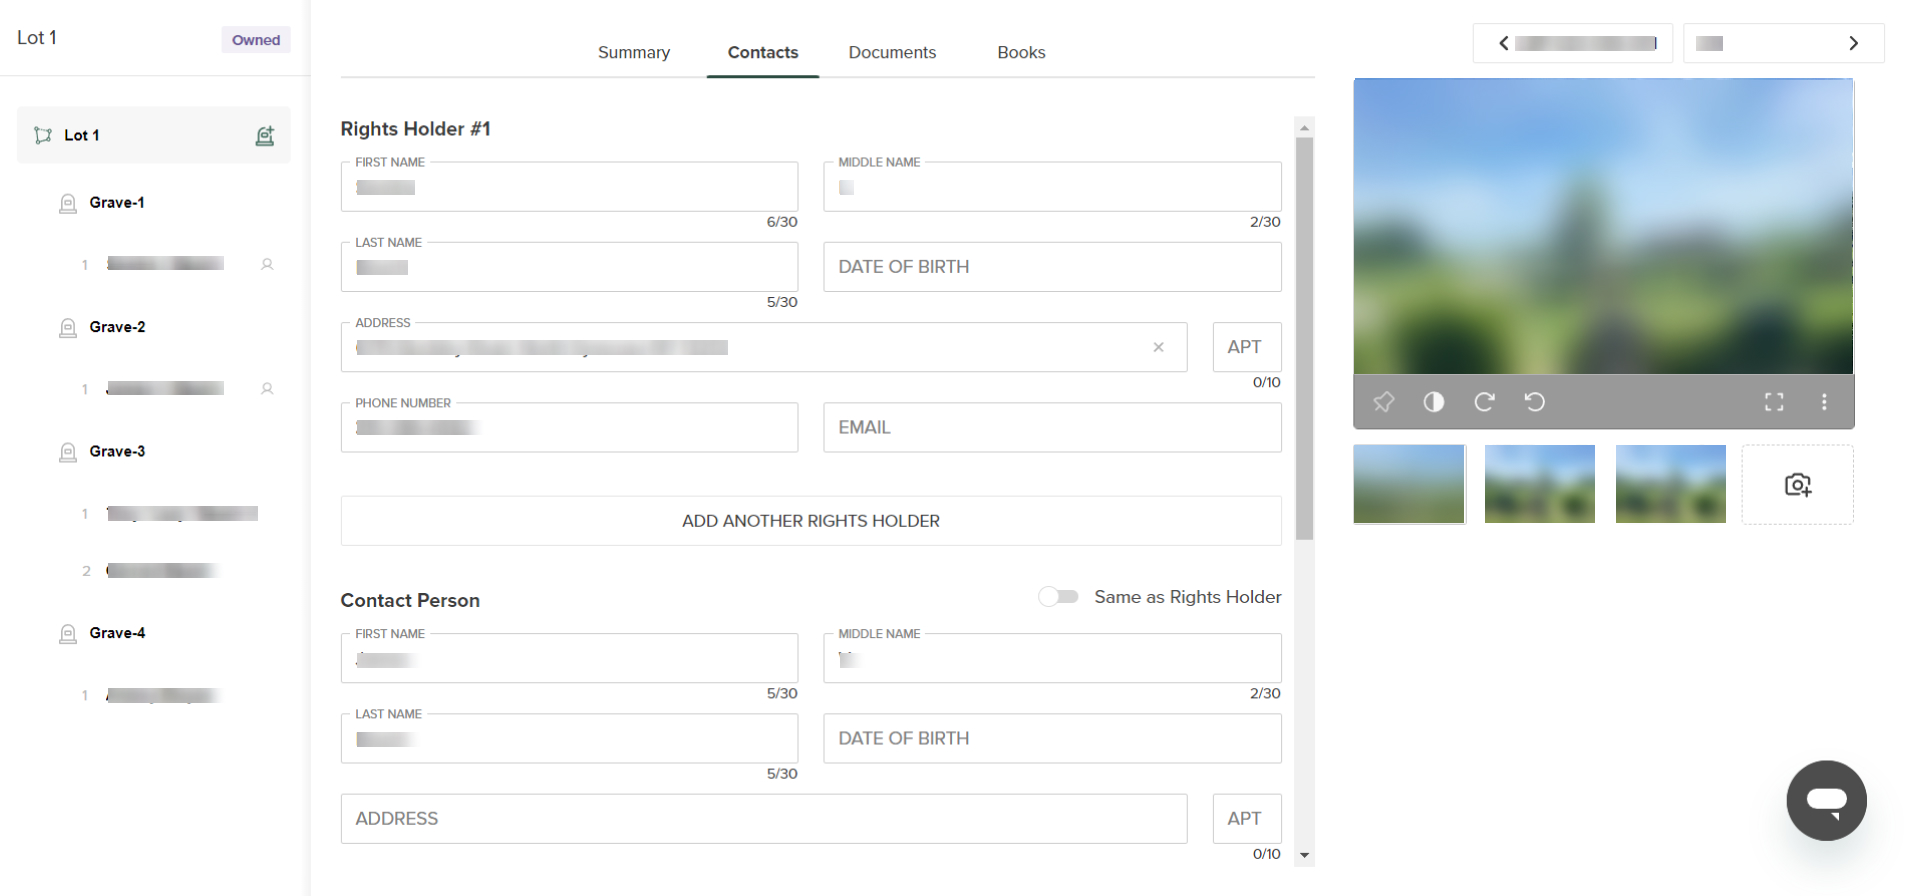
In the "Contacts" section, you can enter certain information using reference guides or predefined options. For fields such as addresses and responsible person, you can utilize dropdown menus, auto-suggest functionality, or pre-existing contact information from the reference guide. This helps ensure consistency and accuracy in the data entry process. Simply select the appropriate options or enter the information based on the available references provided.


In the designated section for documents, you have the option to upload files pertaining to the transaction or record. Simply select the "Upload" button and choose the desired document from your device. Once uploaded, you can access and download the documents by clicking on the corresponding arrow icon. If needed, you can also remove the documents by selecting the "Delete" option.

Similarly, in the "Books" section, you have the ability to upload and manage scanned pages from burial registration books or any relevant books.

Was this article helpful?
That’s Great!
Thank you for your feedback
Sorry! We couldn't be helpful
Thank you for your feedback
Feedback sent
We appreciate your effort and will try to fix the article